Ans: Well, that’s a terrible idea. A dishwasher is ideal equipment for cleaning daily utensils made with glass, steel, wood, silicone, etc but putting items like keyboards, which have so many volatile hardware attachments, in it is considered not safe. Doing this can cause its complete failure.
How to Clean Keyboard Keys: The Ultimate Step-by-Step Maintenance Guide

Updated On September 25, 2026
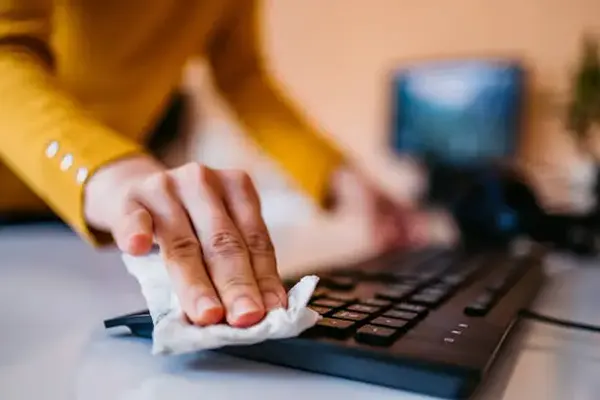
Using dusty buttons while doing your daily tasks on your PC is not at all good for your overall hygiene and creating a fresh work environment. Without learning how to clean keyboard keys, you might have to deal with dust-clogged keys, disrupting your typing experience. But you can improve your experience by reading this DeviceFixes article, as it tells you some of the best keyboard cleaning methods. Stay till the end to uncover the best results!
Table of Contents:
Pre-Cleaning Preparation & Essential Tools

Before you start any sort of cleaning process, you first need to ensure some essential factors and gather vital tools so that you won’t face hurdles. First, check out this crucial tool list, which tells you exactly what you need in an ideal cleaning setup.
Essential Tools
- A Wired Keycap Puller
- A Brush with Gentle Bristles
- One Compressed Air Canister
- A Microfiber Cloth (High Quality)
- Isopropyl Alcohol Solution (90%+ABV)
- Cotton Swabs or Tissue Papers
- Ear Cleaning Tips (Optional)
Once you collect all these essential items, there are some precautionary steps that you need to follow without negligence, because they can disrupt the cleaning process or even the hardware elements of the keyboard to some extent if not done appropriately. Read and implement these suggestions responsibly.
- Power off your desktop or unplug your keyboard from the USB port to ensure complete disconnection from any electrical source. A constant power supply during cleaning can give minor shocks to your fingers.
- Clean your table first with a table cleaner and let it dry for at least 15-20 minutes. Stack all your necessary documents away from the desk and set aside other parts of your setup, like the mouse and laptop.
- Make sure not to keep any drinks, sauces, or any liquid substances near your keyboard to avoid accidental spills during cleaning sessions.
Read more: How to Fix a Slow Computer: Simple Fixes That Actually Work
The Quick Maintenance Clean (10-Minute Method)
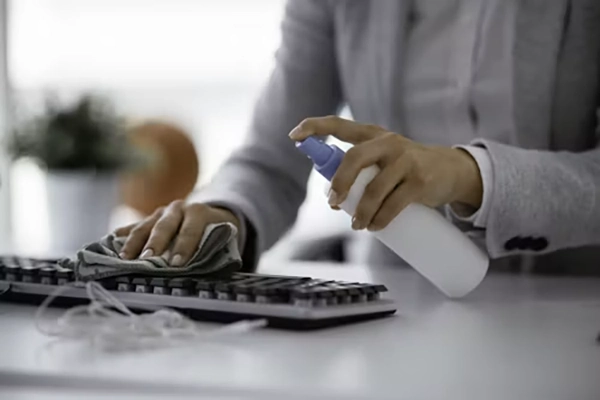
Maintaining the cleanliness of the keyboards of laptops and desktops while working on daily tasks might seem tough, but it’s not. Sometimes you can avoid deep cleaning methods and go for a quick solution once a week to ensure its functionality and resistance to dust collection. You can follow this three-step method, which takes hardly 10 minutes.
Step 1) The Inversion & Shake
Unplug your keyboard from the desktop first, then fold the wire carefully. Next, pick it up and reach near a dustbin, then give it a nice shake pointing towards it. This will remove all the small junk residue present between the keycaps, plates, and overall surface.
Step 2) Compressed Air Sweep
Now come back to your desk, take an air compressor, and give a couple of bursts in a left-to-right direction to blow away all the minor and unnoticed particles that are sitting on your keyboard. Rotate the keyboard to the backside and give a couple of air bursts again till you see no signs of dusty residue left.
Step 3) Surface Wipe
In the final step, take a microfiber cloth and 90%+ isopropyl alcohol and start cleaning the surface of the keycaps with a damp (not too soaked in solution but wet) cloth. This will make your keyboard shiny and tidy without even a deep clean.
Pro Tip
You can also use cotton swabs to clean the areas between the keycaps for more precise cleaning results and to remove small sticky stains present within their borders.
Read more: Fix Laptop Monitor Issues: Complete Troubleshooting Guide
Deep Cleaning Mechanical Keyboards (Step-by-Step)
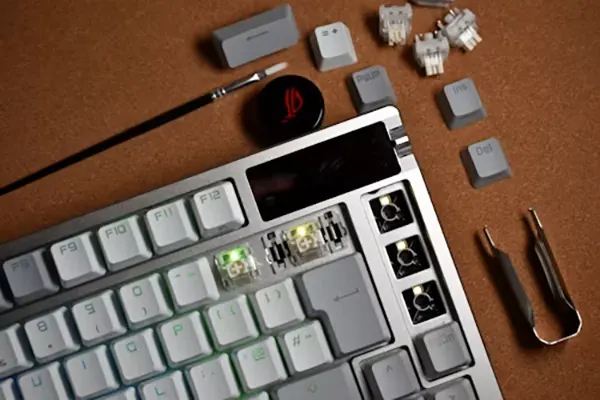
Deep cleaning for mechanical keyboards requires a special method, and if it’s not done properly, then some residue can continue ruining your experience. Instead, follow the procedure below, which will make your keyboard neat and like new:
Step 1) Safe Keycap Removal
First of all, remove all the keycaps safely using a wire puller and widen the loops slightly. Slip the wires down the opposing sides of the keycap until they click or snap underneath the lower edges. If you are comfortable using your hands, then use your index fingers and thumbs of both hands to pinch out the keys safely without damaging the inner layers and switches. Don’t have a wire puller? Then you can use a DIY method of creating one, which requires a copper wire string. You need to fold it into a U shape, and then you can use its wide end for pulling the keycaps out from the switches.
Step 2) Washing and Soaking Keycaps
Now, wash and soak the ejected keycaps in a bowl of solution made with dish soap and lukewarm water for 15-30 minutes. Never use boiling water to make this cleaning liquid, as it can damage the plastic of keycaps and completely remove the characters written on them. After soaking them for the ideal time period, take them out and gently put them on a dry microfiber cloth. Let them rest for 30-45 mins so that the cloth can absorb all the excess water from the keys. To make the drying process faster, speed up the table fans (if present) or use blowing tools like hair dryers.
Step 3) Cleaning the Exposed Plate & Switches
Cleaning the key plates and switches of the keyboard is also necessary to make it free from tiny dust particles, as they can reduce the clicking experience and haptic feedback afterwards. Use bursts of air from a compressor or power blowers to remove small clumps of debris from the hardware. Then, for the switches, you can use a soft-bristled brush to wipe out all the remaining grime.
Step 4) Reassembly & Testing
After ensuring that all the keycaps, switches, and plates have dried completely, start the process of reassembly. Place the keycaps over the switches and snap them back by pushing firmly. Follow this step until every key is placed in its correct spot. Always remember that even a small amount of moisture or water retention can cause electric sparks, leading to complete keyboard breakdown. When you complete the assembly, plug the keyboard into the PC and test the responsiveness and accurate functionality of all the keys by typing on Notepad or your preferred platform. Fix the loose keys by pressing them a bit harder if you find any.
Handling Liquid Spills & Sticky Keys
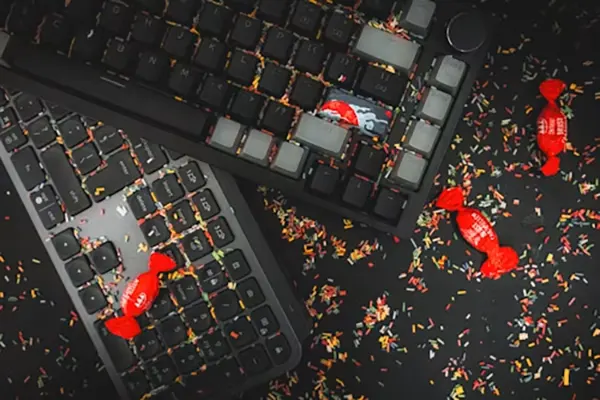
Accidentally spilling liquid on the keyboard and dealing with sticky keys afterwards can be frustrating. But you can follow these easy steps below to solve this issue quickly and protect your keyboard from hardware damage.
- Immediately unplug the keyboard from the PC and switch off its main power supply to prevent electrical leaks in the surrounding areas.
- Now take a dry microfiber cloth and gently dab the wet areas of the keyboard. Never rub hard in this situation because the liquid can reach small cavities, which can cause breakdown in the entire component.
- You can also use a hair dryer to blow some of the remaining liquid away from the keyboard after cleaning all the excess spilt liquid.
- Lastly, it is highly advised not to use the keyboard for the next 48 hours so that all the moisture can go away properly, but if you have some urgent tasks, then start using it at least after 3-4 hours.
Keyboard Hygiene & Preventive Maintenance Tips
Maintaining keyboard hygiene is essential for promoting its optimum performance, keeping it free from unwanted breakdowns and regular repairs. Also, keeping the keyboard clean is important for your physical well-being too. To avoid dealing with regular mess from surrounding dust and debris, follow these preventive maintenance tips:
- Always wash your hands and dry them properly before using your desktop; it will keep all the small chunks of food, water drops, and oils from getting deposited beneath the keycaps.
- Every time before you start your typing session, make sure to give your keyboard a nice shake. It will remove all the small pieces of debris present in it without any extra effort.
- When you are not using your keyboard, don’t forget to cover it with a plastic sheet, cloth, or a silicone cover. This protective layer prevents germs, bad bacteria, dust, and pest formation inside your keyboard.
- Never forget to disconnect your keyboard from the PC when you are planning not to use it for upcoming days or months, and keep it inside your accessory bags or room shelves so it won’t come in contact with harmful debris present in the nearby atmosphere.
Frequently Asked Questions (FAQ)
Can I wash my keyboard keys in the dishwasher?
Is isopropyl alcohol safe for all keyboard plastics?
Ans: The moderate use of an isopropyl alcohol-based solution is safe, but in most cases, when it is poured in too large an amount, it can affect the plastic layering and color of the letters or numerals.
How often should I clean my computer keyboard?
Ans: Ideally, you should clean your computer keyboard with a quick surface wipe once a week and a deep clean every 1 to 2 months to maintain optimum longevity.
What is the best way to clean sticky keyboard keys?
Ans: The best way to clean sticky keyboard keys includes removing the keycap, cleaning the stem and housing area with a cotton swab lightly dampened with 90%+ isopropyl alcohol, and letting it dry completely before reattaching.
Conclusion
Perfect keyboard cleaning can be done using two effective methods: a quick one and a deep dust removal session. Both provide excellent results for temporary maintenance, but for achieving the best outcomes, cleaning keycaps and promoting the longevity of hardware elements like switches and plates, the deep cleaning method is recommended more. If you quickly clean your keyboard once a week, then you won’t require deep cleaning methods for at least 2-3 months.
But if you have too much debris, sticky stains from food, and grime from the surroundings, then it’s high time to start a deep cleaning session. Make sure to take all the necessary tools and preventive steps before starting the procedure, and maintain keyboard hygiene by using the recommendations mentioned above. Don’t forget to follow Devicefixes for more such beneficial content like this.
Sources:
Guide to clean laptop keyboard by ASUS
How to Clean Your Keyboard and Mouse by The New York Times
HOW TO CLEAN KEYBOARD by Microsoft Q&A